How to Winterize a 2025 Coleman 17B (Tankless Water Heater, Air Blowout + Antifreeze)
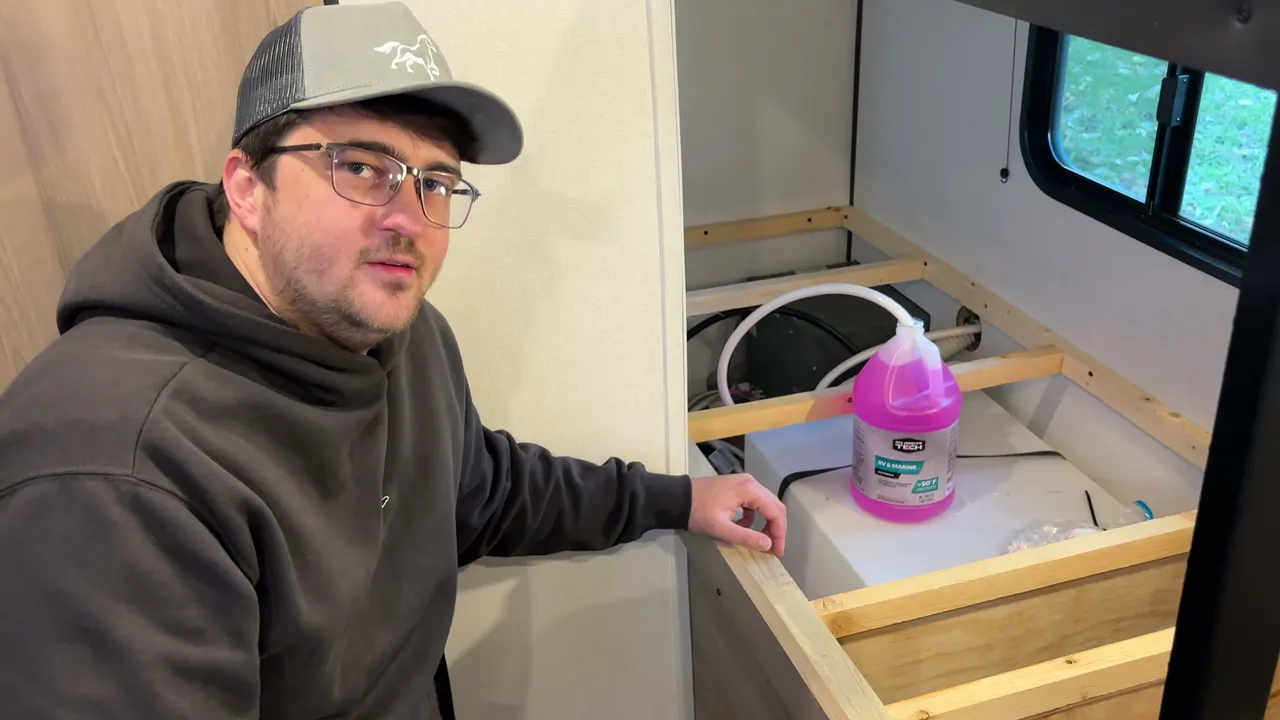
It is a sad day every year, but it is time to winterize our 2025 Coleman 17B. If you live anywhere it freezes, the water in your lines has to come out before the first hard freeze, or it can crack them. This is exactly how we do ours, start to finish. It worked for us last winter, and it is the same approach we have seen a lot of other owners use.
This post contains Amazon affiliate links. As an Amazon Associate, I earn from qualifying purchases at no extra cost to you. The antifreeze and blowout adapter are in our Amazon storefront.
Have a 2024 or older Coleman Lantern LT 17B? This guide is for our 2025 Keystone-built 17B, which has a tankless water heater and no bypass valve. Older Lantern LT 17Bs were built by a different company, so check which water heater yours has. A tank-style water heater gets drained and bypassed before the antifreeze goes in, and your owner's manual shows where those valves are. Here is what changed between the Lantern LT and the Keystone 17B.
In this post
- Wet or dry: what we do
- The tankless water heater: no bypass valve
- What you need
- Step 1: Hook up the blowout adapter
- Step 2: Set the air compressor
- Step 3: Blow out the faucets
- Step 4: Blow out the low point drains
- Step 5: Do a second pass
- Step 6: Turn the pump valve to antifreeze
- Step 7: Run it until it comes out pink
- Step 8: Fill the P-traps and the toilet
- Step 9: Check the low point drains
- Step 10: Switch the valve back and turn off the pump
- Coleman 17B winterizing FAQs
Watch the whole thing
Aaron Goes Outdoors winterizes a 2025 Coleman 17B: blowing out the lines with air, then pumping RV antifreeze through.
Wet or dry: what we do
People debate this one. There are two main ways to winterize a camper:
- The wet method. You pump RV antifreeze through all of your lines until you see pink come out of the faucet and the shower.
- The dry method. You blow air through everything with a compressor until nothing is left in the lines. Even with the dry method, you still pour antifreeze down the sink and shower drains to fill the P-traps, and leave a little in the toilet.
We do both. We blow everything out with air first, then pump antifreeze through the whole system and pour it down the drains. Think of the antifreeze as a final rinse. It pushes out anything the air missed, so we do not have to wonder whether something is going to freeze. It takes almost no extra time, and antifreeze is cheap, so in our opinion, why not?
▶ See wet vs dry explained in the video
The tankless water heater: no bypass valve
This is the big one if you are watching older Coleman 17B winterizing videos. Our 2025 17B has a tankless water heater, a Suburban ST-42. Campers with a tank-style water heater have a bypass valve, so you can keep antifreeze from filling the tank. Ours does not have one, because there is no tank to fill.
That means you can just run the antifreeze through the water heater. Make sure the water heater is turned off first. You do not want it heating that stuff. Nothing sits inside it the way it would in a tank. It just runs through, and in the spring your fresh water flushes it back out.
This is our 2025. Other years and floor plans can be set up differently, so look at where your parts are, and check your water heater’s manual if you are not sure.
▶ See the tankless water heater explained in the video
What you need
- RV antifreeze. The pink RV and marine kind. We used 1.5 to 2 jugs on our 17B, so have a couple on hand.
- A blowout adapter with a shut-off valve. One end attaches to your air hose and the other screws onto the city water hookup on the camper.
- An air compressor you can set between 30 and 40 PSI.
You can find RV antifreeze and a blowout adapter in our Amazon storefront.
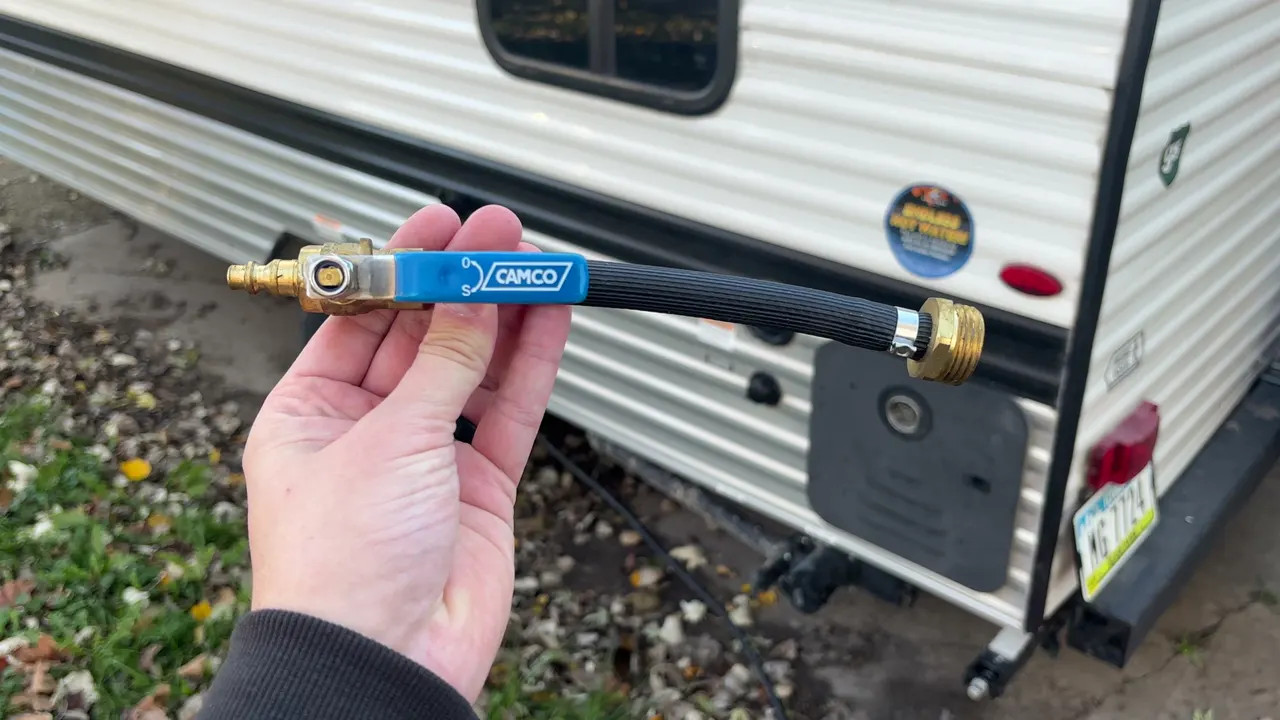
▶ See what you need in the video
Step 1: Hook up the blowout adapter
- Double check that the tankless water heater is off, and shut off the propane. Suburban’s manual for our water heater says to turn off both the power and the gas to it before you drain it, so close the valve on your propane tank too.
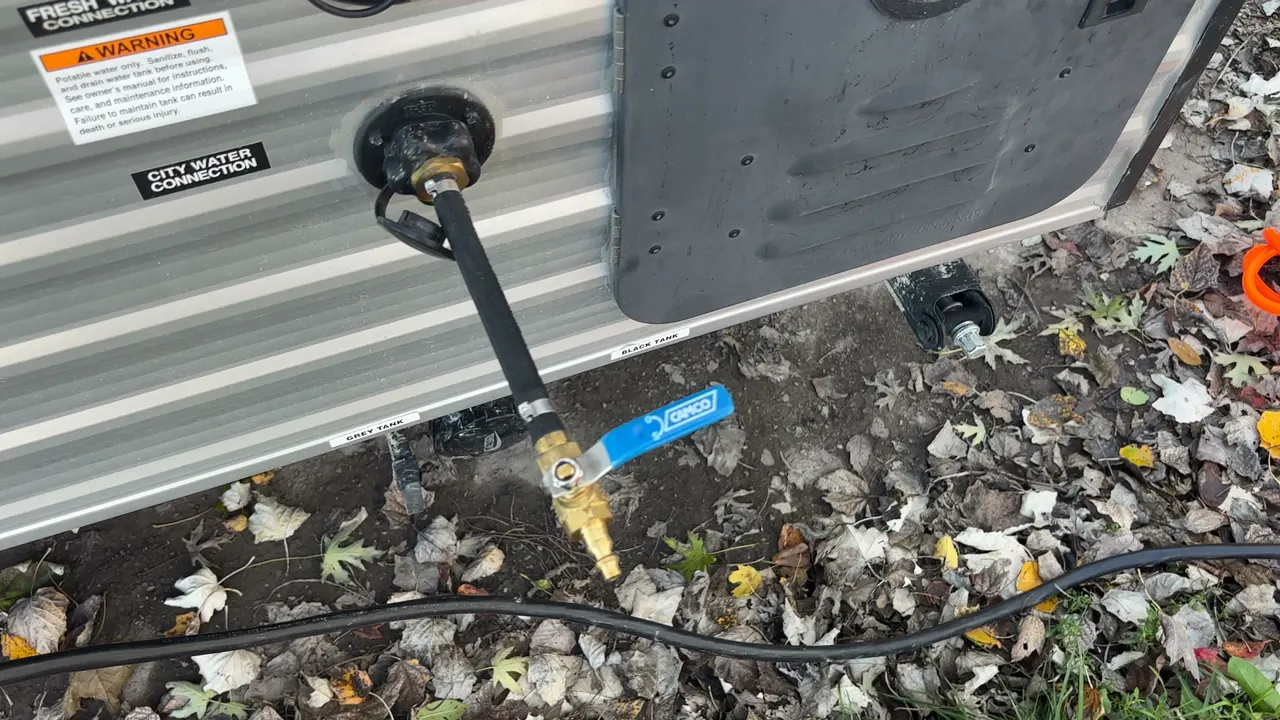
- Close the shut-off valve on the adapter before you connect anything, so nothing happens before you are ready.
- Screw the adapter onto the city water hookup and attach your air hose to the other end.
Step 2: Set the air compressor
Your compressor shows what is in the tank, but you can set what actually goes out to the hose. Keep it under 40 PSI. We run about 35. You will not get it perfect, and anywhere between 30 and 40 is enough to push the water out.
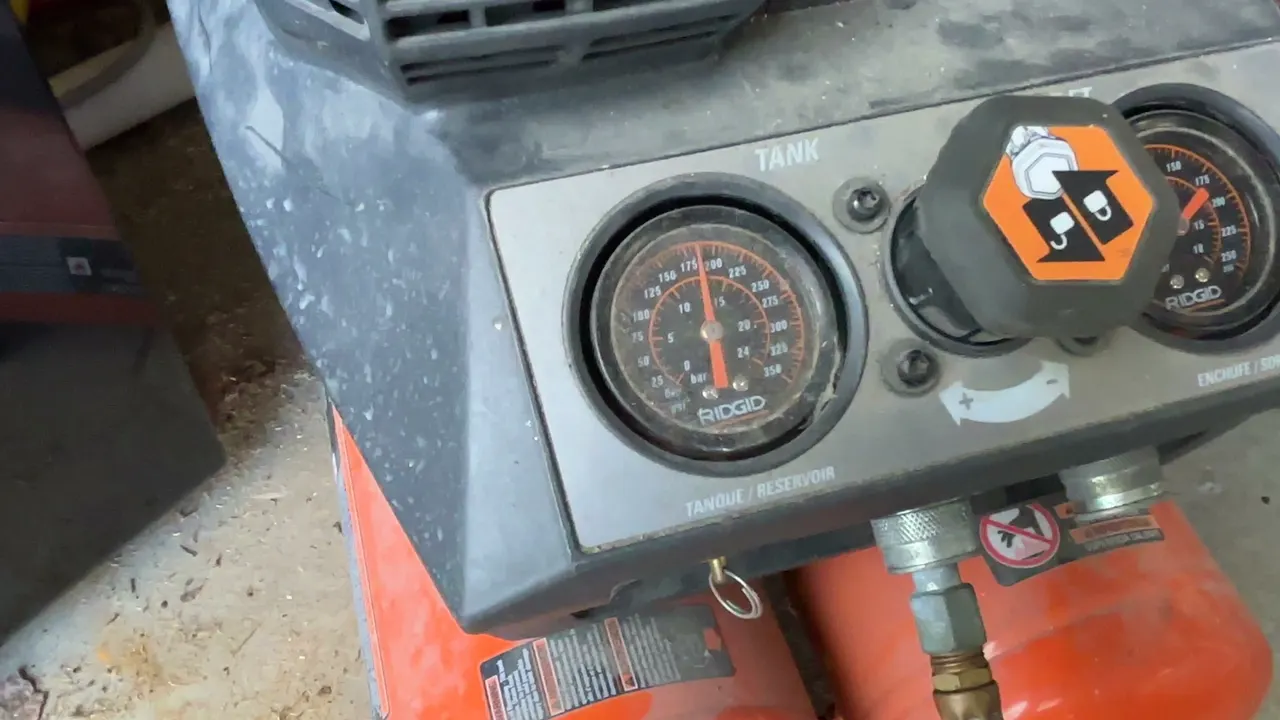
▶ See the compressor setting in the video
Step 3: Blow out the faucets
Turn the air on. Then, inside:
- Turn on one side of the kitchen faucet. Water comes out first, then it turns to air.
- Let it run until it is just air, then shut it off.
- Do the same on the other side of the faucet.
One side at a time is the rule for every faucet: open it, let it run until the water is gone, and close it.
▶ See the faucet blowout in the video
Step 4: Blow out the low point drains
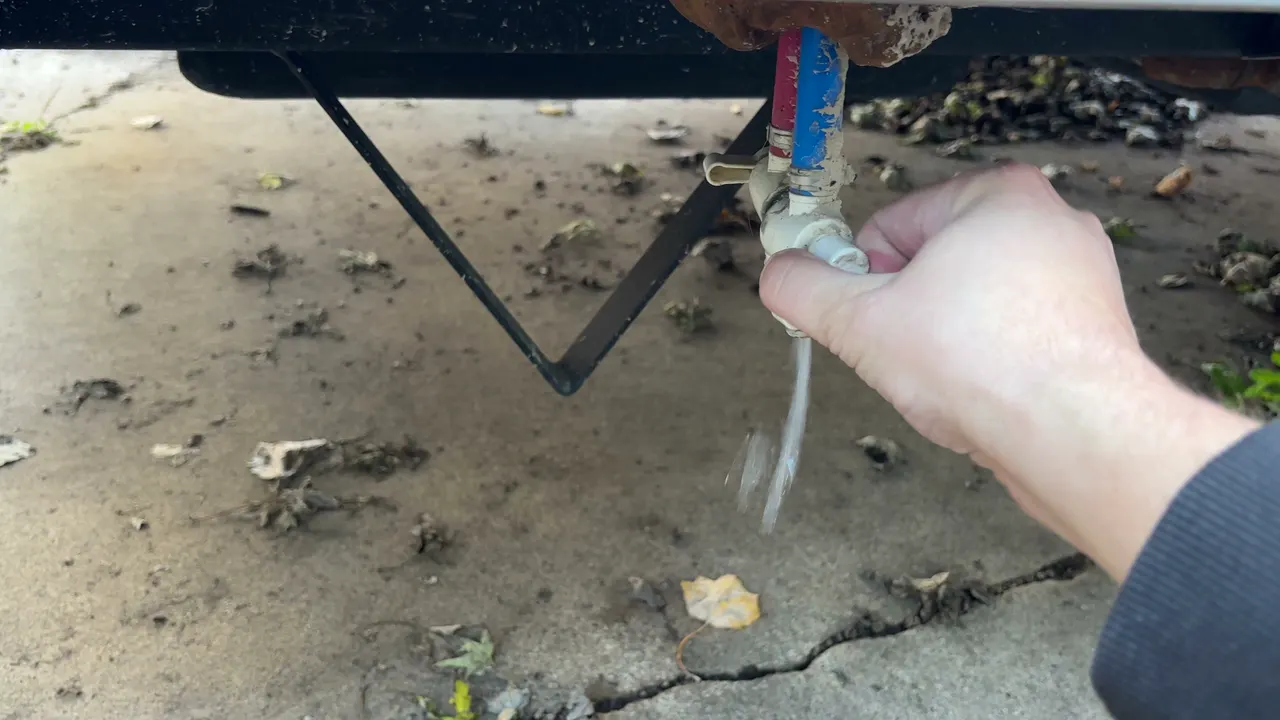
Next, we blow everything out through the low point drains under the camper. Open one and let the air push the water out until only air comes out, then close it. Do the same on the other side, so both the hot and the cold lines get cleared. Remember where these are. You will come back to them at the end.
▶ See the low point drains in the video
Step 5: Do a second pass
As long as you stay in that safe PSI range, go back through everything one more time:
- Both sides of the kitchen faucet.
- Both sides of the shower.
- The toilet.
Every one should be just air. You can feel it.
That is the dry method. If you stop here, the last part is to pour antifreeze down the sink and shower drains to fill the P-traps, put some in the toilet, and make sure your black and gray tanks are empty.
▶ See the second pass in the video
Step 6: Turn the pump valve to antifreeze
Now for the antifreeze. On our 2025, the water pump is under the bed. Lift the mattress and the board underneath it. That board has screws, but we just leave them out. It sits in place on its own, and there is no reason to take screws in and out every time.
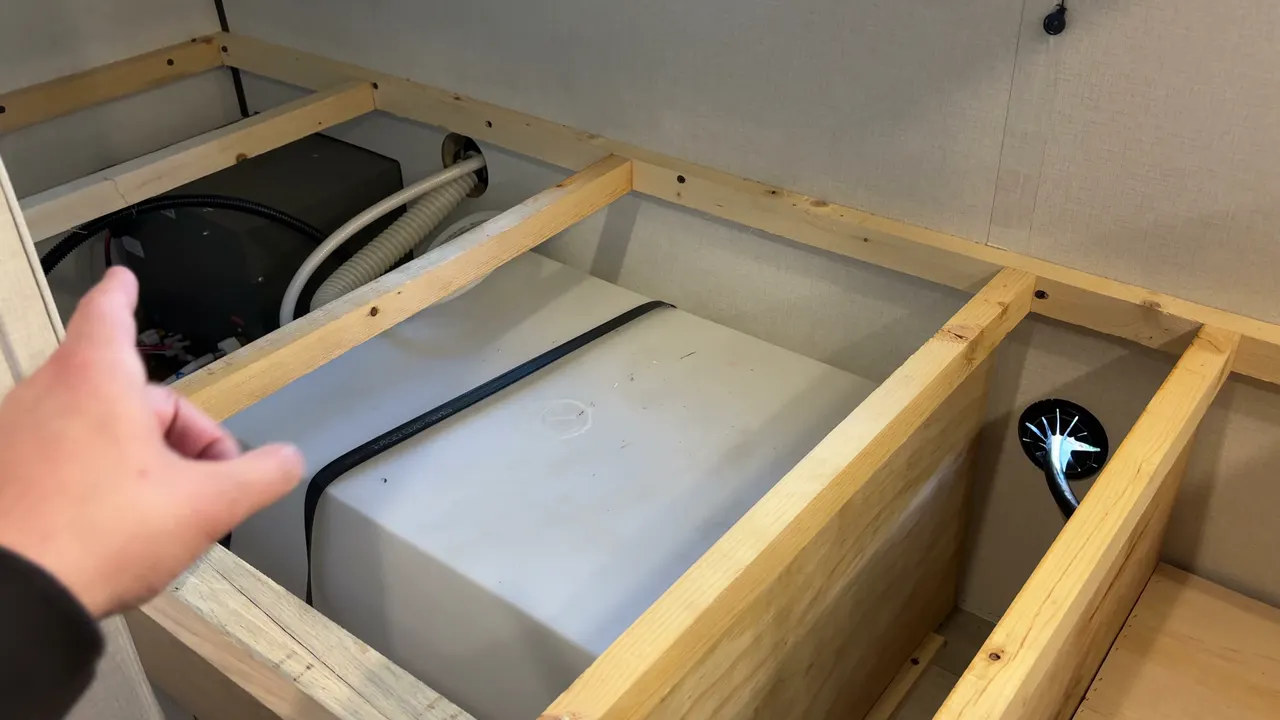
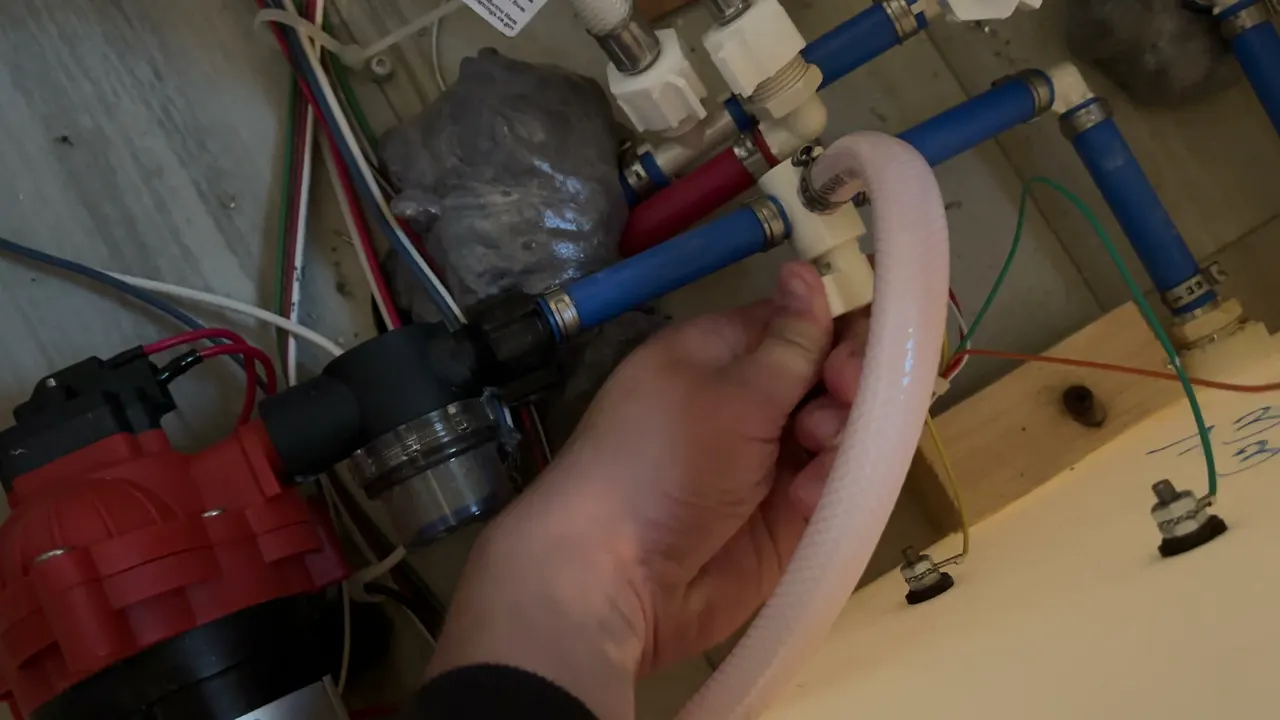
Find the water pump. Just to the right of the pump, there is a knob on the line. Turn it so the pump pulls from the antifreeze hose instead of the fresh water tank, then stick that hose into your jug of antifreeze.
▶ See the pump valve in the video
Step 7: Run it until it comes out pink
Flip on the water pump switch. You will see it start pulling the antifreeze out of the jug.
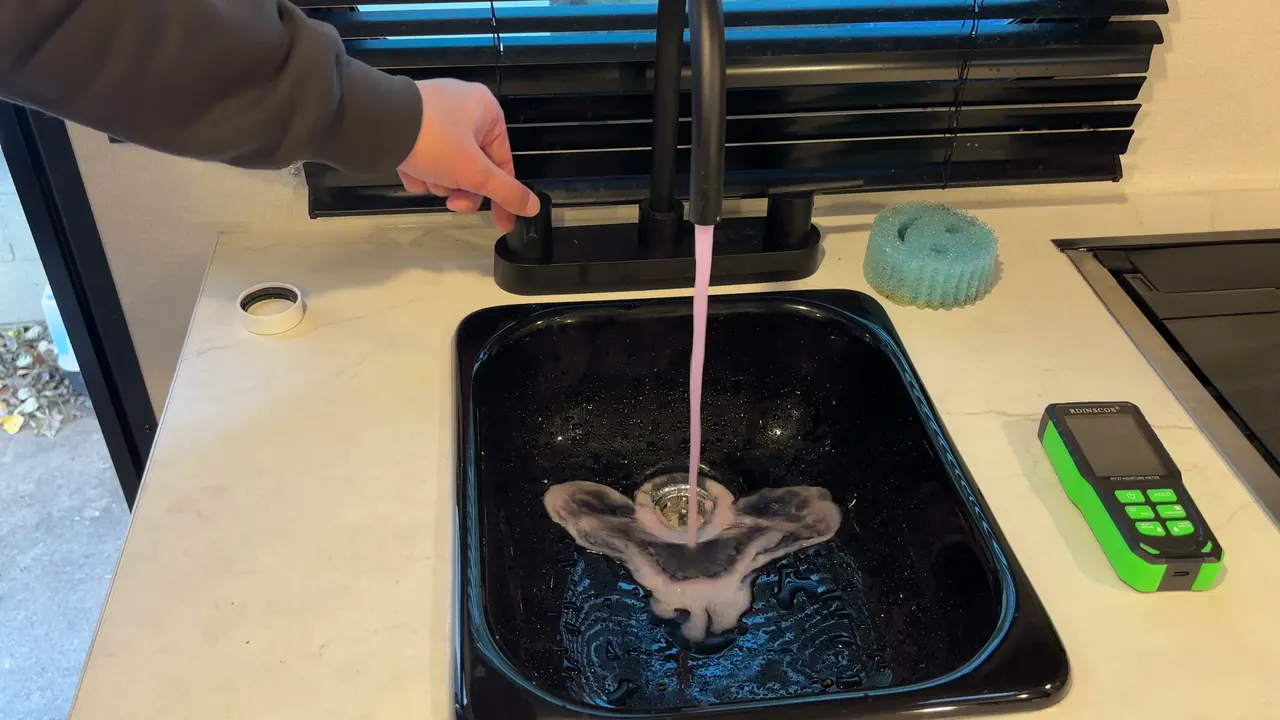
- Turn on one side of the kitchen faucet. After a second, the antifreeze comes through.
- When you see that nice pink color, you are good. Shut it off.
- Do the same on the other side.
- Do the same at the shower.
Keep an eye on the jug and swap in a fresh one when it runs low.
▶ See the pink come through in the video
Step 8: Fill the P-traps and the toilet
Pour a good amount of antifreeze down the sink and the shower drains, so the P-traps fill with antifreeze instead of water. It is a good way to use up whatever is left in your jugs. Leave a little in the toilet too, and make sure your black and gray tanks are empty.
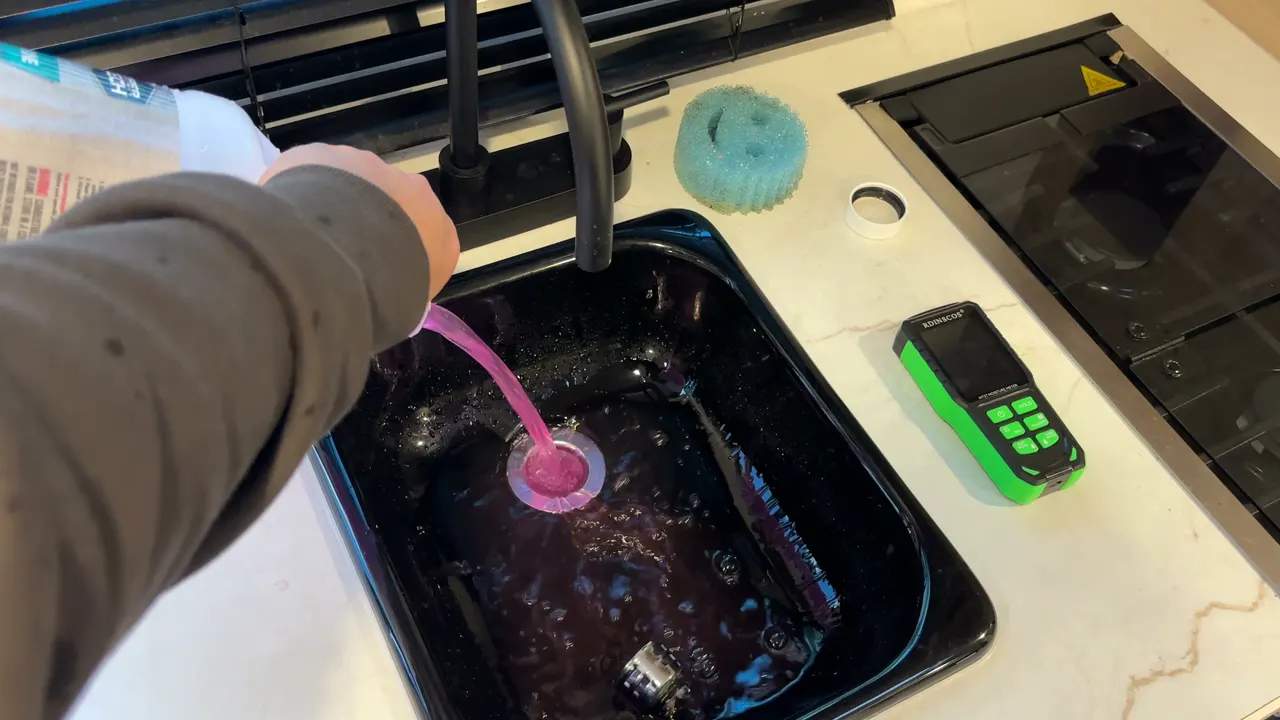
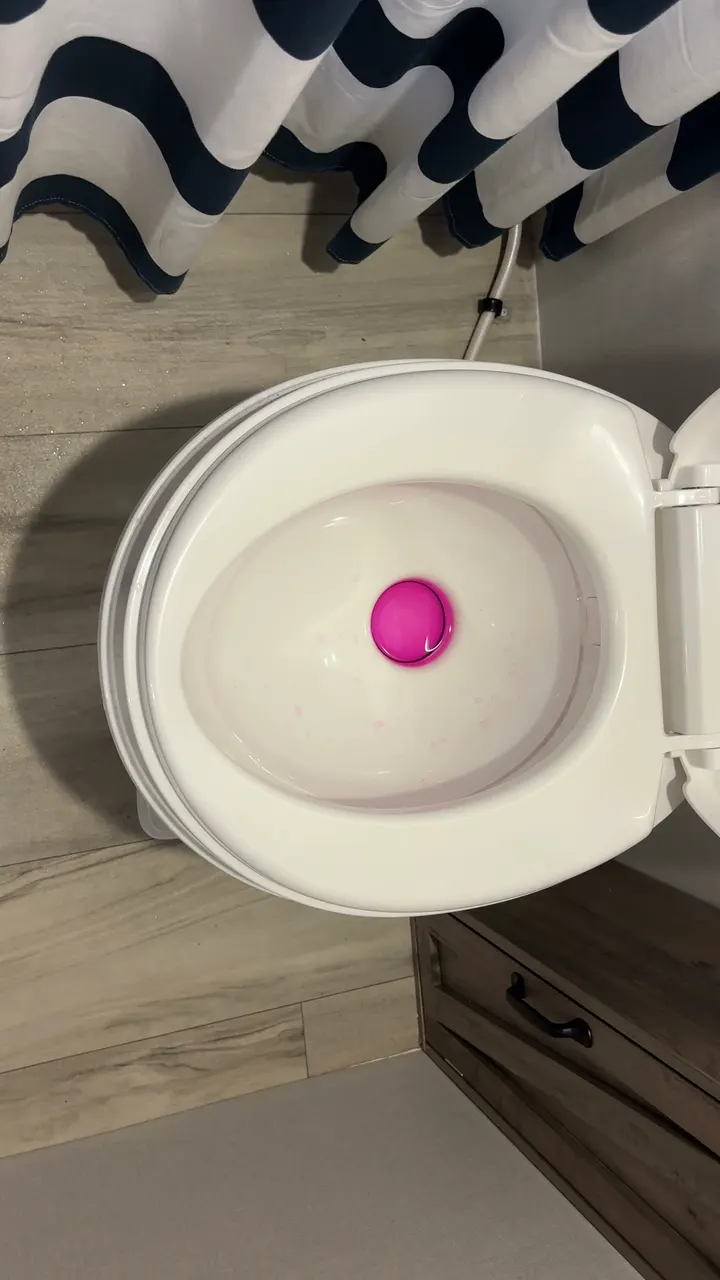
▶ See how much antifreeze we used in the video
Step 9: Check the low point drains
Last but not least, open the low point drains one more time as a check. You want to see pink come out of both. Nice and pink means the antifreeze made it all the way through.
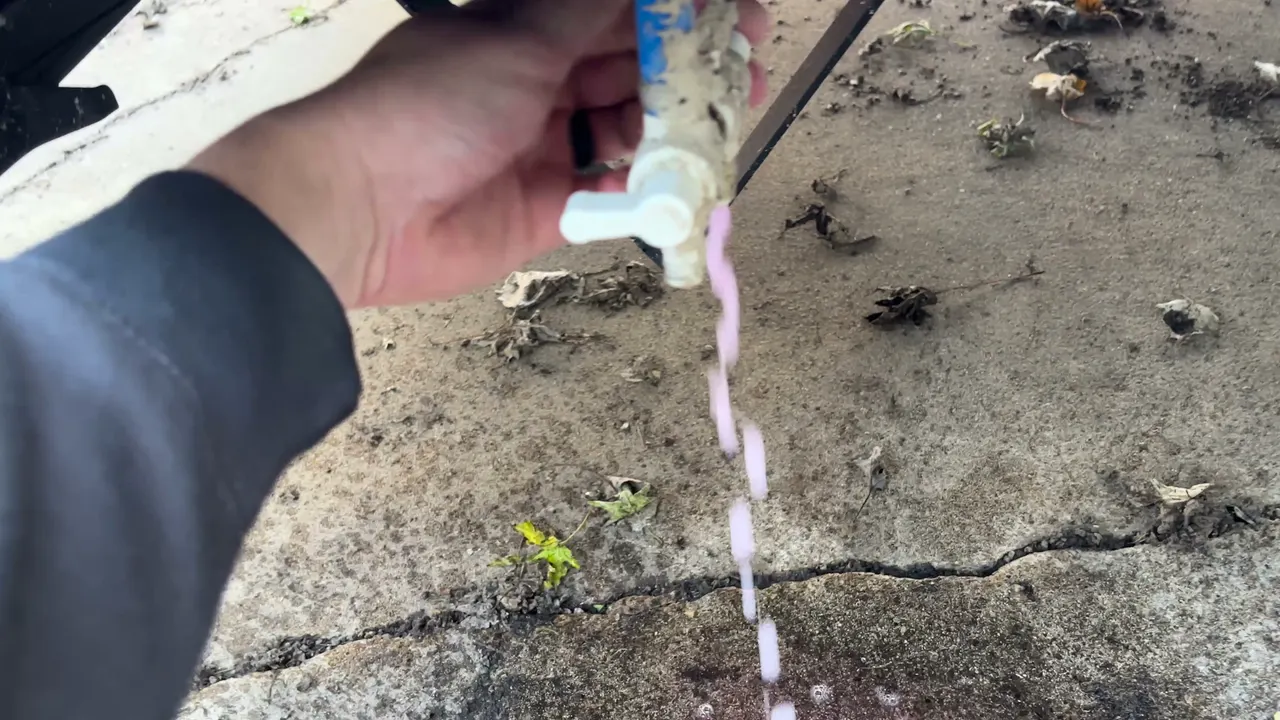
▶ See the low point check in the video
Step 10: Switch the valve back and turn off the pump
The pro tip I should have said earlier in the video: turn the valve by the pump back to the fresh water tank, and turn the water pump off so it is not just spinning. Then you are set for the winter.
▶ See the pro tip in the video
Coleman 17B winterizing FAQs
Does the 2025 Coleman 17B have a water heater bypass valve?
Ours does not. Our 2025 has a tankless water heater, and bypass valves are for tank-style water heaters. Turn the water heater off and the antifreeze just runs through it. Check your own camper and your water heater’s manual, since other years can be set up differently.
Do you need to open the pressure relief valve on a tankless RV water heater?
Not on ours. Opening the relief valve is a step for tank-style water heaters, where it lets air in so the tank can drain. Our 2025 has a Suburban ST-42 tankless, and Suburban’s manual never has you open the relief valve to winterize it. It says to turn off the power, the propane, and the water pump, open the hot and cold faucets, and blow the lines out with compressed air at no more than 100 PSI (we stay well under that, at 30 to 40). After that, add RV antifreeze if your camper’s manufacturer recommends it. The manual also says not to remove or plug the relief valve, so leave it alone.
What PSI should I use to blow out camper water lines?
We keep it between 30 and 40 PSI, usually about 35, and never over 40. Set the pressure going out to the hose, not the tank.
How much antifreeze does it take to winterize a Coleman 17B?
We used 1.5 to 2 jugs. Have a couple on hand so you do not run out partway through.
Should I winterize with air or antifreeze?
You can probably do either one and be okay. We do both: air first to get the water out, then antifreeze to push out anything left and fill the drains. It takes almost no extra time, and antifreeze is cheap.
Where is the water pump on a Coleman 17B?
On our 2025, it is under the bed, beneath the board under the mattress. The knob just to the right of the pump switches it between the fresh water tank and the antifreeze hose.
Do you still need antifreeze in the drains with the dry method?
Yes. Pour antifreeze down the sink and shower drains to fill the P-traps, leave a little in the toilet, and make sure your black and gray tanks are empty.
Final thoughts
Winterizing a Coleman 17B is not hard, and it is a lot cheaper than fixing a cracked water line in the spring. Blow it out with air, follow up with antifreeze until you see pink everywhere, and do not forget to switch the pump valve back when you are done. If you do it differently, let us know in the comments on the video.
New to camper ownership? Our free new camper starter guide covers the rest of the maintenance basics, with printable checklists. While you are thinking about water, it is also a good time to check your camper for leaks before the snow comes. For the long-term take on the camper, read our one-year Coleman 17B review. Want to try a 17B first? You can rent ours here in Cedar Falls.
For more 17B content and honest trip reports from the Midwest, subscribe to Aaron Goes Outdoors on YouTube.